Product Photo Ideas for Online Sellers: Lifestyle Shots

Strong product photo ideas begin with one question: how will your customer use this? A plain picture shows what the item looks like. A lifestyle shot shows what it is like to own it. Below you will find seven product photo ideas, simple lighting tips and a way to speed up the work.
If you sell online and do not have a studio, the Product Lifestyle Showcase style in Voymage is worth a look. It is explained after the ideas.
Why Lifestyle Shots Help Buyers Decide
Shoppers cannot touch or hold your item. A scene gives them clues about size, texture and use. A bottle next to a glass, or a jar on a breakfast table, tells a small story.
You do not need many props. One clear scene with one clear subject is enough. Keep the product easy to see, and let the setting support it.
Think about your buyer's day. Where will they use the product? Start your scene there. Write the answer down before you shoot.
It also helps to decide the job of each photo before you shoot. Your first photo should show the whole product clearly. A second can show it in use, and a third can show a close detail, such as a texture or a finish. Three simple jobs give shoppers a full picture.
Product Photo Ideas You Can Shoot This Week
Each idea below works with a phone and a table. Choose the ones that fit your product.
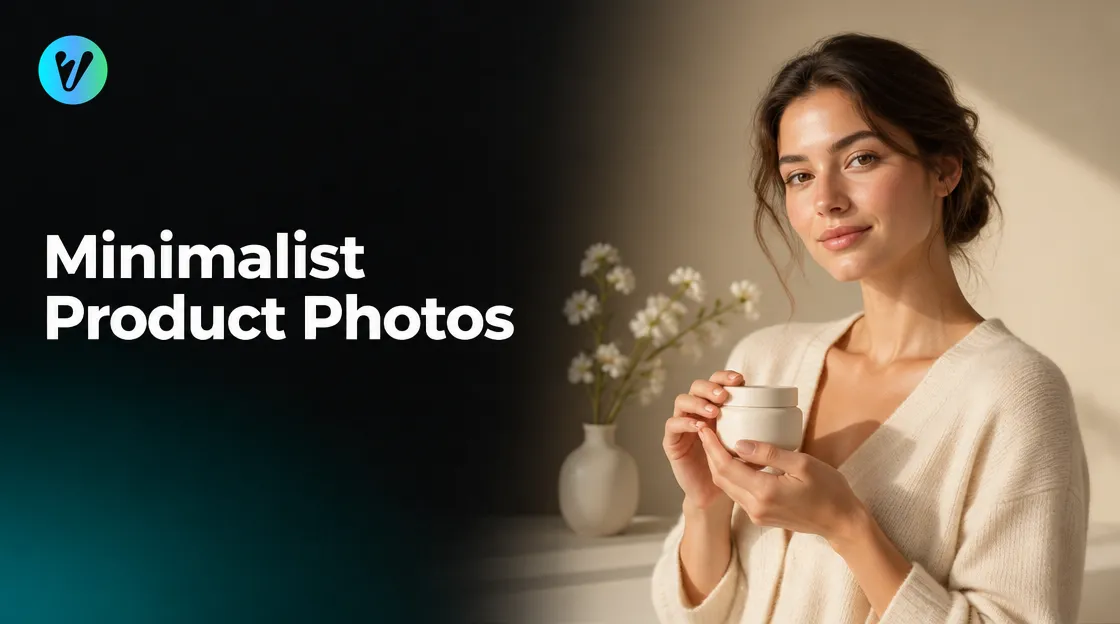
- In a hand. Show the product held at a natural angle. It gives a sense of size without a ruler.
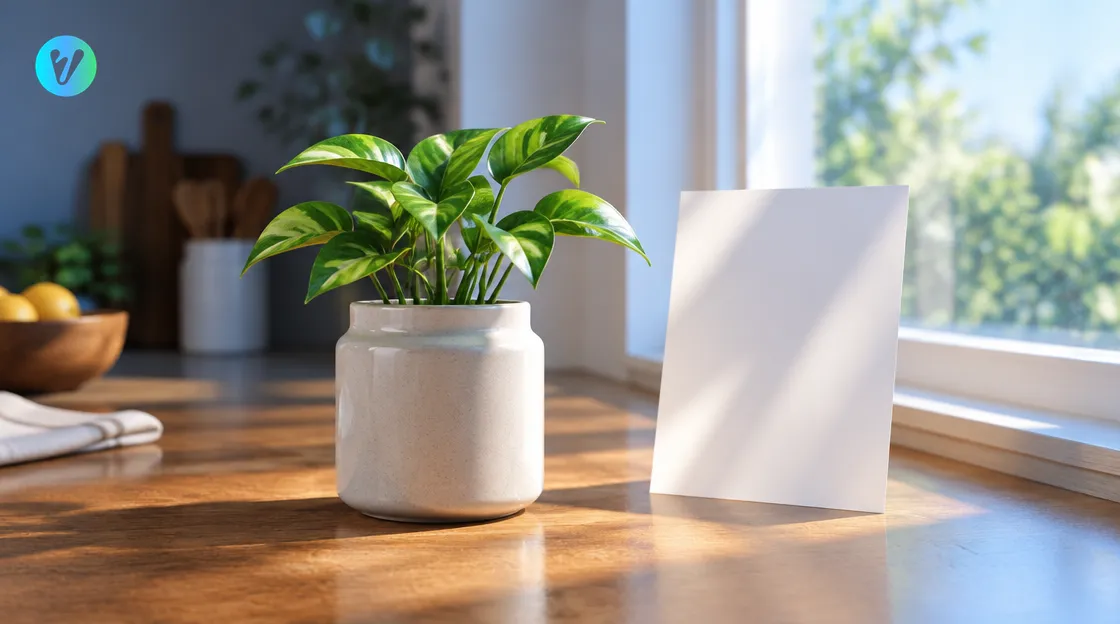
- On a kitchen table. Place it next to everyday items, such as a cup or a folded cloth. Leave empty space around it.
- Beside a window. Daylight gives a soft, clean look. Turn the product so its front faces the light.
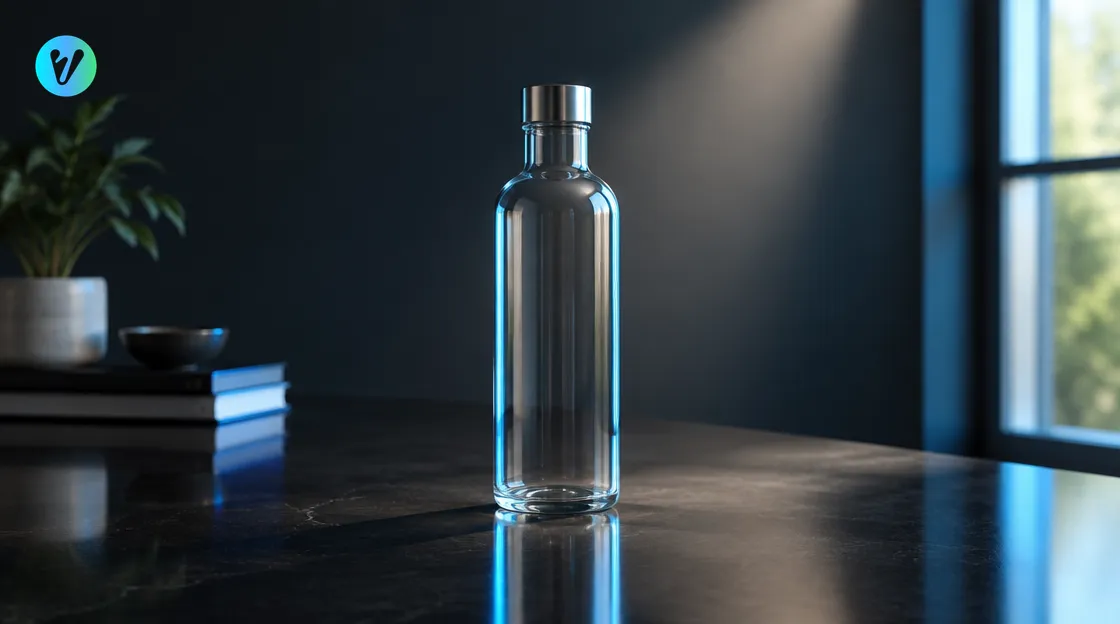
- On a reflective surface. A glossy tray or a dark table adds a soft reflection. Wipe away fingerprints first.
- Spotlight on a dark background. A single spotlight against a dark backdrop gives a moody, premium look. It suits bottles and jars.
- Simple props. Add one or two props that match the product, such as a green leaf beside a skincare jar. Skip anything that competes with it.
- A tidy interior. Place the product on a shelf or a side table in a clean room. The room tells the buyer where it belongs.
Photograph each idea from the front and slightly above. Take a few extra shots in tall and wide formats, so you can crop for different pages.
Keep a short checklist beside you while you shoot. Wipe the product, check the background, check the light, then take the shot. Review the first picture on a larger screen before you carry on. Small problems, such as dust or a crooked edge, are easy to fix at this stage and hard to fix later.
Shoot more than you think you need. A table of small items gives you many chances to try each idea. Pick the clearest set when you review them.
Light Your Product With One Window and a Reflector
Start with a window
A university extension photography guide notes that overcast days provide even lighting without harsh shadows. For indoor shooting it suggests lights such as LED panels, ring lights or softboxes, so your subject is well lit.
You can get a similar soft look from a large window on a cloudy day. Place your table next to it and try a test shot. Check where the light falls before you place the product.
Fill in the shadows
If the side away from the window looks too dark, bounce light back into it. Stand a sheet of white card or a silver reflector opposite the window. It fills in the shadows without adding a second harsh light. Move the card closer for a stronger fill and farther away for a gentler one.
Keep the look the same
Use the same backdrop, the same angle and the same light for every item. A matching set of photos looks organised when buyers scroll through your shop. Check each new photo against the first one before you move on.
Write down your set-up the first time: where the table stood, how far the window was, which card you used. Next week you can repeat it in a few minutes.
How the Product Lifestyle Showcase Style Helps
The style page says it brings products and subjects together in sophisticated compositions, with a focus on lighting, reflections and positioning. It mentions rendering products such as bottles with precise scale, textures and spotlighting.
It also lists spotlighting, reflective surfaces and premium interior setups for an atmospheric, high-end look. Each of these appears in the ideas above.
Using it takes three steps. Each one is quick.
- Upload your photo. Drag and drop an image, or choose one from your device.
- Choose the format. Pick the aspect ratio you want.
- Generate and download. Your finished image is ready in seconds.
Try more than one photo and compare the finished images. Keep the one that makes the product easiest to see.
Common Mistakes to Avoid
Even simple ideas can go wrong in small ways. Watch for these.
- A busy background. Clutter hides the product. Clear the scene first.
- A new angle every time. Mixed angles make a catalogue look untidy.
- Dirty or creased surfaces. Fingerprints and wrinkles show up in close shots.
- Too many props. If the eye goes to the prop first, remove it.
- Harsh overhead light. It creates hard shadows. Use window light instead.
- Skipping a close-up. Buyers like to see texture and finish. Add one detail shot to every set.
Looking for other looks for your shop? See the product styles page for more options.
Conclusion
Good product photos show your item in a real moment. Pick a few product photo ideas, light them with one window, and keep every shot consistent. Then open the Product Lifestyle Showcase style, upload your photo and choose a format.
Voymage is also available as an app. Get Voymage on Google Play.
Frequently asked questions
What are good product photo ideas for a small shop?
Try the product in a hand, on a kitchen table, beside a window, on a reflective surface, under a spotlight, with one or two props, or in a tidy interior.
Do I need a studio for product photos?
No. A phone, a table and one window are enough to start, and a reflector or white card softens shadows.
How do I light a product with a window?
Place the product next to a window and use natural light. If one side looks too dark, put white card or a reflector opposite the window to fill in the shadows.
How do I keep my product photos consistent?
Use the same backdrop, angle and light for every item. A matching set looks organised and is easier to browse.
How does the Product Lifestyle Showcase style work?
Upload your photo, choose the format, then generate and download. The style focuses on lighting, reflections and positioning, and your finished image is ready in seconds.
What is a common product photo mistake?
A busy background is a common one. Clear the scene so the product is the first thing the eye finds.