Kitchen Product Photos: Window Light and Counter Styling

This guide is about kitchen product photos: window light, counter styling and simple scenes for kitchenware and food-adjacent items. Set most of it up at home with a phone. It also covers a Voymage style that places your product in a kitchen scene.
Already have a clear photo of your product? The Alpine Sunlit Kitchenette style in Voymage offers kitchen lifestyle settings with natural sunlight, wood textures and mountain views. It is explained after the shooting tips.
Window Light for Kitchen Product Photos
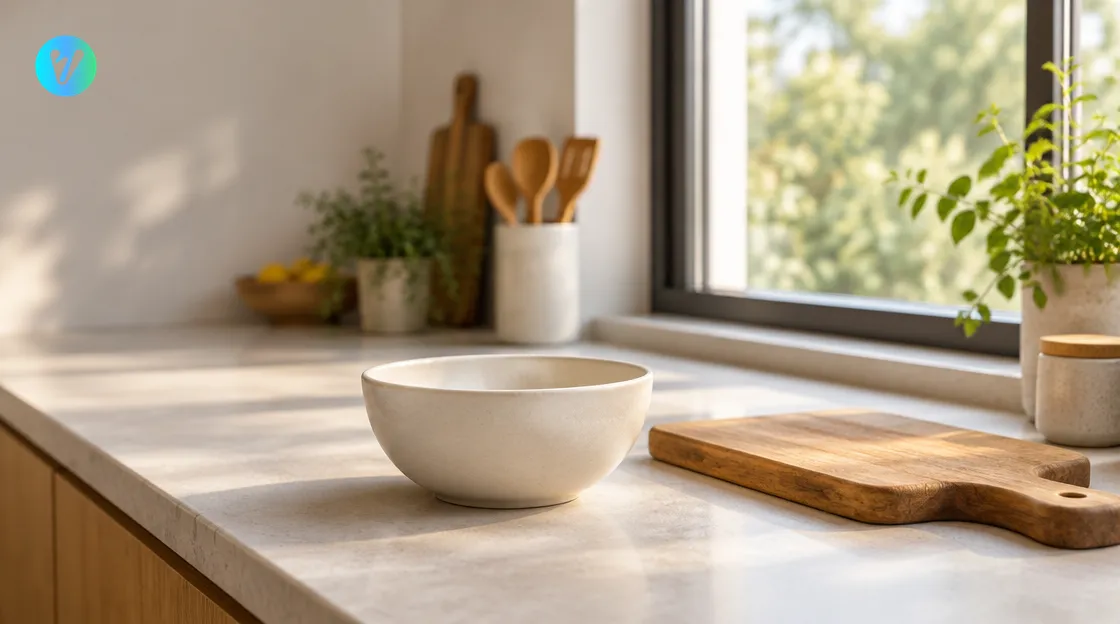
A university brand photography guide says to put your subject near a window, with the room lighting off. It also says light sources should never come from the same angle as the camera, which flattens the image and removes the shadows. Look for the largest window in your kitchen and try your shoot there.
Place your product on the counter beside the window. Turn it until the light falls on the side you want to show. Then take a test frame and look at the shadows.
If the side away from the window is too dark, try a sheet of white card opposite the window. The guide says reflected sunlight can be bounced back onto the subject using a reflector or a simple white board. Place the card close to the product and check the shadows again.
Hold the phone level and step back a little for a wide view of the counter. Then move in for a close-up of one detail. Take both, so you can choose later.
Turn the overhead lights off while you shoot, so the window is your only light. Look at the counter from where you stand and check that no lamp or fixture adds a second glow. Take one more test frame to confirm.
Style the Counter
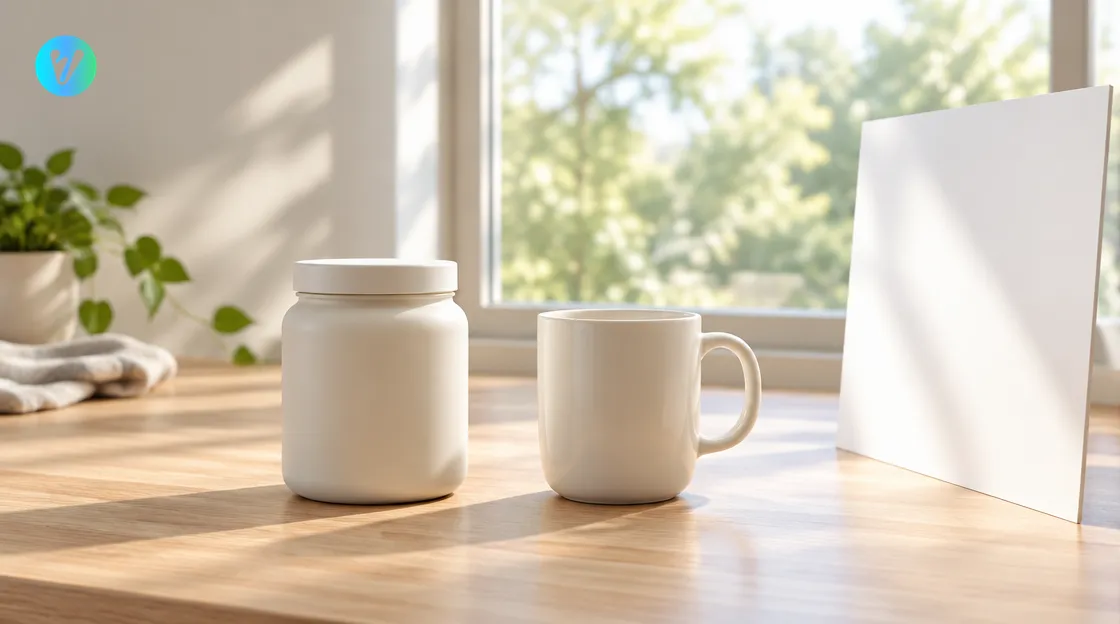
Clear the counter before you place your product. Wipe away crumbs, water marks and fingerprints. Move the kettle, the sponge and the mail out of the frame.
Add one or two props, not ten. The style page describes a modern kitchen setting with premium wood and ceramic props that complement but never distract. Try a wooden board, a ceramic bowl or a linen cloth on your own counter.
Turn labels away from the camera, or choose items with no printed words. Leave some empty counter around the product. Place it slightly off centre.
Kitchen Scenes to Try
These scenes suit kitchenware and food-adjacent products. Pick two or three and keep the rest of the counter plain.
- Beside the window. Put the product on the counter next to the window and let the light fall from the side.
- On a wooden board. Set a jar, a bottle or a bowl on a plain board.
- With a ceramic bowl. Place a plain bowl behind the product and focus on the product.
- A breakfast corner. Put a mug, a spoon and a folded cloth beside the product.
- In use. Show a whisk, a spoon or a cup next to the product to hint at how it is used.
- A close-up of texture. Move in on a handle, a lid or a glaze.
- A view from above. Shoot straight down at the counter with the window to one side.
Take several frames of each scene. Compare them on a larger screen and keep the sharpest one. Delete the frames with crooked edges or stray items.
If you shoot several products, do it in one sitting by the same window. Keep a short note of where you placed each item, so you can repeat the set later.
How the Alpine Sunlit Kitchenette Style Works
The style page says it is designed to place your product in an aspirational, modern living space. It describes soft, diffused natural light from a large window and a warm and inviting atmosphere. The shallow depth of field draws the eye directly to your item, while softly blurred alpine scenery sits in the distance.
The page says the style is perfect for premium appliances, home accessories and lifestyle-oriented products. It also says the style simulates soft, diffused window light for realistic highlights and gentle shadows. Using it takes three steps.
- Upload your photo. Drag and drop an image, or choose one from your device. You can also pick a style first to preview how your photo will transform.
- Choose the format. Pick a format before you generate.
- Generate and download. Your finished image is ready in seconds.
Compare your finished image with your real product. Check that the shape, the colour and any markings look right before you use it.
Try more than one starting photo, and compare the finished images. Keep your own kitchen shots as well.
Pick a Starting Photo
- Choose a sharp photo of the whole product on a clean counter.
- Use soft light from a window, with the overhead lights off.
- Keep the product straight and fully in the frame.
- Leave a little empty space around it.
- Skip photos with strong flash or heavy filters.
If you have two or three photos, try each one and see which gives the clearest finished image. Wipe your phone lens before you shoot, and rest the phone on a stack of books to keep it steady.
Common Mistakes to Avoid
Check your kitchen product photos against this list before you upload one. Fix any that apply, then shoot again.
- Mixed light. Turn the overhead lights off when the window is your light.
- A cluttered counter. Clear the extras, so the product stays the hero of the image.
- A dark shadow side. Place a sheet of white card opposite the window.
- Visible labels. Turn printed words away from the camera.
- Skipping a test frame. Check one frame before you shoot the whole set.
Want more product looks? Browse the product styles page for more options.
Conclusion
For kitchen product photos, use a window, a tidy counter and a few simple props. Place the product beside the window, clear the clutter and check one test frame. Then open the Alpine Sunlit Kitchenette style, upload your sharpest photo and choose a format.
Voymage is also available as an app. Get Voymage on Google Play.
Frequently asked questions
How do I light kitchen product photos?
A university photography guide says to put your subject near a window, with the room lighting off. Place your product on the counter beside the window.
Where should the camera go?
The guide says light sources should never come from the same angle as the camera, which flattens the image and removes the shadows. Try placing the window to one side of your product.
What if one side of my product is too dark?
The guide says reflected sunlight can be bounced back onto the subject using a reflector or a simple white board. Try a sheet of white card opposite the window.
What does the Alpine Sunlit Kitchenette style do?
The page says it places your product in an aspirational, modern living space, with soft, diffused natural light from a large window.
Which products does the style page mention?
The page says the style is perfect for premium appliances, home accessories and lifestyle-oriented products.
Which starting photo should I use?
A sharp photo of the whole product on a clean counter in soft window light, with the product straight and fully in the frame.