Product Photo Angles: Show Every Side Buyers Want to See
Strong product photo angles help buyers see what they are getting. One front view is rarely enough. This guide shows the angles worth taking and how to shoot each one. It also covers a style that turns a single photo into an ecommerce-ready infographic with multiple angles.
If you sell online and want multiple angles from one picture, the Ecommerce 7-Angle Product Generator style in Voymage is worth a look. It is explained after the angles.
Why Angles Matter to Buyers
Shoppers cannot pick a product up. Each extra view answers a question: how big is it, how is it built, what does the back look like. A set of clear views makes the listing feel complete.
A university photography guide says it is amazing what a difference changing angles can make. It suggests experimenting with different angles and perspectives, taking photos from both high and low vantage points.
The same idea works for products. Walk around your item before you shoot, and look at it from the front, the side and above.
Write down the questions a buyer might ask, such as how heavy it is, whether it opens and what the texture is like. Each answer points to an angle you should photograph.
Product Photo Angles Every Listing Needs
You can start with a simple set of seven views. They are our suggestion, not a rule. Use the ones that fit your product.
- Front. The main view. Keep the product straight and fully in the frame.
- Back. Show closures, labels and fittings.
- Left side. Show the depth and the profile.
- Right side. Check that the product looks the same from both sides.
- Top. Shoot from above to show the shape and the lid or the opening.
- Close-up. Show one detail, such as a texture, a stitch or a finish.
- In context. Place the product beside a familiar object to show its size.
Not every product needs all seven. A flat item may need only front, back and a close-up. Add or drop angles until the set answers a buyer's questions.
Think about what you sell. A bag may need an inside view, and a lamp may need a view of the shade and the base. Keep a short note for each product with the angles you shot.
Plan Your Product Photo Angles Before You Shoot
A short shot list saves time and keeps every item consistent. Write it once and reuse it for every product in your shop.
- Clean the product. Wipe away dust and fingerprints before the first photo.
- Set up the surface. Use a plain table and a plain backdrop beside a window.
- Shoot the front first. It is your main view, so get it right before you move on.
- Work around the product. Take the sides and the back, then the top, then the close-up.
Tick each angle off as you go. At the end, scroll through the set on a larger screen and look for gaps. Save each photo in a folder named after the product, so you can find the right angle fast.
How to Shoot Each Angle Yourself
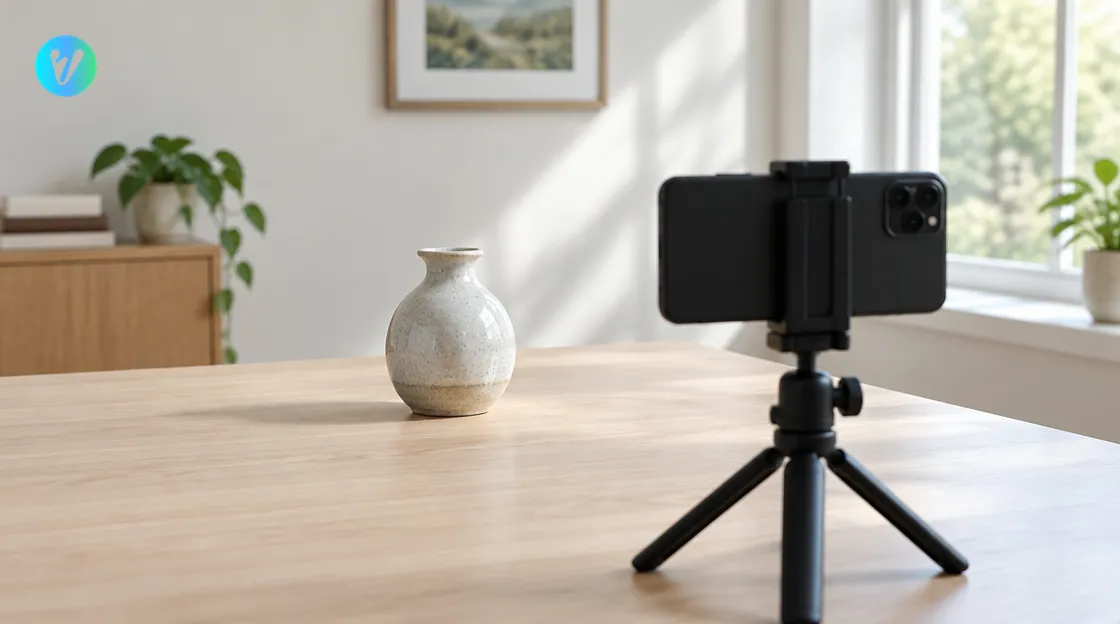
Keep the product on the same surface and in the same light for every angle. Move the camera, not the product, so the set looks consistent. A small tripod makes this easier.
The same guide advises you to pay close attention to the foreground and the background of your image. Clear the table and use a plain backdrop. It also says smartphone cameras function better if you get close to your subject, so move in for your detail shots.
Check each frame before you move on. Look for crooked edges, dust and reflections. A few seconds now saves a reshoot later.
How the Ecommerce 7-Angle Product Generator Helps
The style page says it transforms a single product image into a complete ecommerce-ready infographic. The infographic has multiple angles, highlights and feature-focused visuals. It says it generates 7 different angles and feature-focused visuals for your product. It also mentions enhancing visuals based on selected materials and finishes, such as matte, glossy and metallic.
The page does not list which seven views you get, so check each one. Using it takes three steps.
- Upload your photo. Drag and drop an image, or choose one from your device. You can also pick a style first to preview how your photo will transform.
- Choose the format. Pick a format before you generate.
- Generate and download. Your finished image is ready in seconds.
Compare each angle in the finished image with your real product. If a detail looks wrong, try another starting photo.
Keep your own photos too. Compare the finished image with them, and keep your own detail shots for texture and finish.
Pick a Starting Photo
- Choose a sharp photo of the whole product on a plain background.
- Use even daylight from a window, with no harsh shadows.
- Keep the product straight and fully in the frame.
- Clean the product first, so dust and fingerprints do not show.
If you have two or three photos, try each one and see which gives the clearest finished image. Keep the sharpest one as your starting photo.
Stand about an arm's length back and keep the phone level. Tilting the camera makes straight edges look crooked. A small stack of books can raise the phone for the top view.
Common Mistakes to Avoid
- Only a front view. Buyers cannot judge size or build from one angle.
- Different light each time. Mixed lighting makes a set look untidy.
- A busy background. Clutter hides the product.
- No detail shot. Buyers like to see texture and finish up close.
- Not checking every view. Compare each angle with the real item before you publish.
Looking for lifestyle looks as well? See the product styles page for more options.
Conclusion
Good product photo angles answer a buyer's questions before they ask. Plan a simple set of views, keep the light and the background the same, and check every shot. Then open the Ecommerce 7-Angle Product Generator style, upload your photo and choose a format.
Voymage is also available as an app. Get Voymage on Google Play.
Frequently asked questions
Which product photo angles should I take?
Start with front, back, left side, right side, top, a close-up and an in-context view. Drop the ones your product does not need.
Why do buyers need more than one angle?
Shoppers cannot pick the product up. Extra views answer questions about size, build and detail.
How do I shoot each angle with a phone?
Use the same surface and light for every angle, move the camera instead of the product, and get close for detail shots.
What does the Ecommerce 7-Angle Product Generator do?
The page says it turns a single product image into an ecommerce-ready infographic with 7 different angles and feature-focused visuals.
Does the page list the seven views?
No. The page does not name them, so compare every view with your real product before you use it.
Which starting photo works well?
A sharp photo of the whole product on a plain background in even daylight, with the product straight and fully in the frame.