Perfume Photo Ideas: Style Bottles and Light on Glass
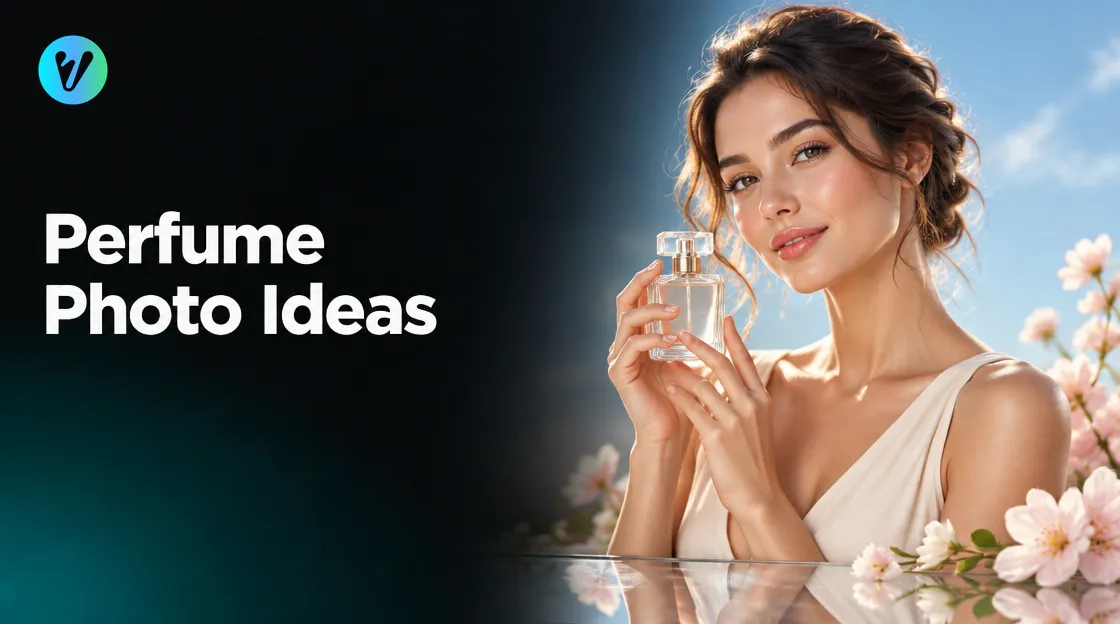
These perfume photo ideas focus on two things: how you style a bottle and how light falls on glass. You can try each setup at home with a phone and a window. The last part covers a style that places a perfume bottle among soft blossoms under an open sky.
When your bottle photo is ready, the Celestial Fragrance Bloom style in Voymage is worth a look. The page says it elevates perfume bottles with a mix of natural elements and high-end studio techniques. The steps are explained after the setups.
Light on Glass: What a Photography Lab Says
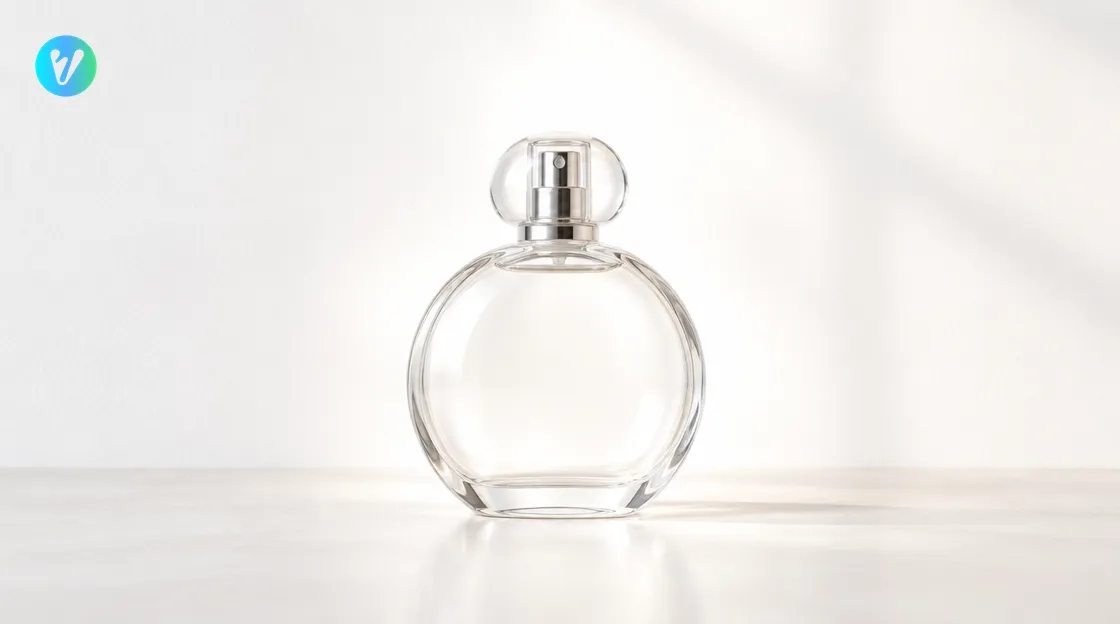
A university photography course lab says you sometimes cannot completely eliminate direct reflection when shooting glass. Instead, it says you need to diffuse it. It gives the example of a glass or hard plastic bottle where you need to see the label, or where the bottle is not transparent. In that case, you use diffusion to soften the direct reflection.
The same lab warns that backlight does not work in every case. A second lab from the course says to light glass from behind to avoid direct reflection. It asks students to photograph a glass of water with backlight and all other lights turned off.
You can test both ideas at home. Put your bottle in front of a window and hang a thin white cloth over the window to soften the light. Then turn off the room lights, so only one light shows in the glass.
Move the bottle a little at a time and watch where the bright spots land. Stop when the bottle shows its shape and no harsh bright spot sits on the front. Take a photo at each stop, so you can compare them later.
Perfume Photo Ideas to Try at Home
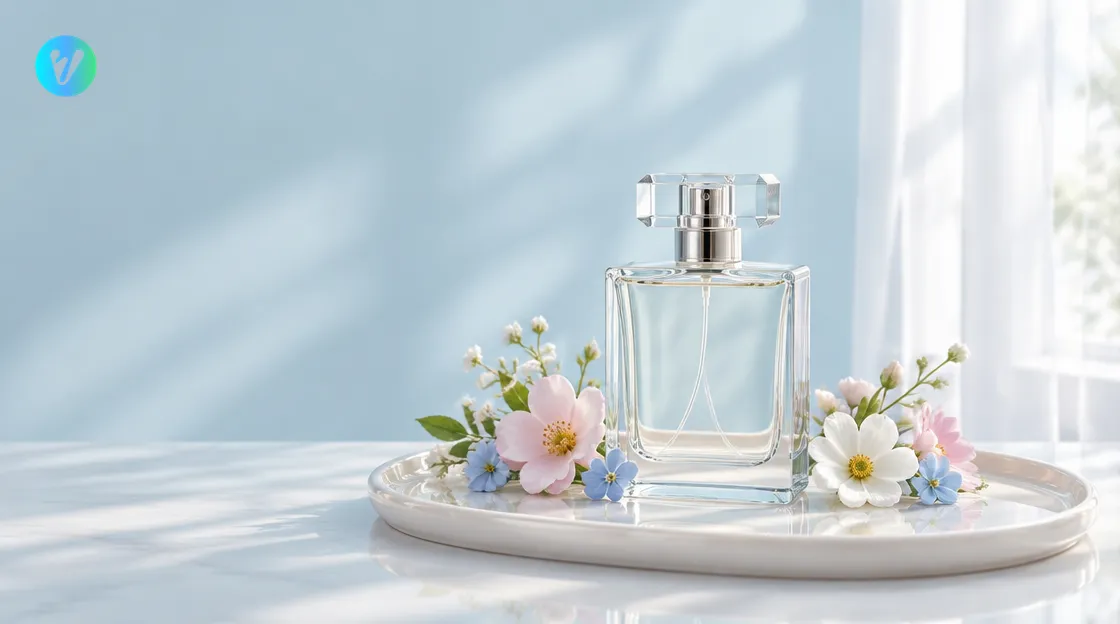
Pick two or three of these ideas and keep the rest of the scene simple. The first lab says the product needs to be the hero of the shot.
- Backlit bottle. Stand a plain bottle in front of a white wall and light it from behind.
- Low angle. Get down to the level of the bottle. The second lab says a low angle will make glass appear larger and more "heroic".
- Soft side light. Light the bottle from one side and soften the light with a thin white cloth.
- Blossoms at the base. Place a few small pastel flowers around the bottle to guide the eye toward it.
- Glossy tray. Set the bottle on a glossy tray to add a reflective surface under it.
- Sky-colour backdrop. Hang a pale blue sheet behind the bottle for an open, airy look.
- Overhead flat lay. Lay the bottle on its side with blossoms around it and shoot from above.
Shoot each idea on its own before you mix them. Write a short note on where the light came from. Use those notes to repeat the setup you liked.
Set Up a Simple Backlit Shot
Follow these steps in order for a simple backlit shot. Change one thing at a time.
- Choose the background. Stand a white sheet or a white wall behind the bottle so it fills the frame.
- Place the light behind. Put a lamp or a bright window behind the bottle, not in front.
- Soften the light. Hang a thin white cloth between the light and the glass.
- Switch off the rest. Turn off the other lights so no direct reflection shows on the front.
- Shoot at a few angles. Take photos at eye level, from a low angle and from slightly above.
Look at each photo on a larger screen. Choose the one where the outline of the bottle is clear and the front has no harsh bright spot. If the glass looks dark, move the light a little closer.
Style the Bottle Before You Shoot
Wipe the glass with a soft cloth before each photo. Check the bottle from every side for marks and look again after you move it into the light. Do this each time you change the angle.
Use a bottle with no lettering, or turn the label away from the camera. Keep logos and brand marks out of the frame. Choose a bottle with a clear outline.
Keep the props few. A handful of flowers, one tray and one backdrop is plenty. Take one test photo, then remove anything that does not help the bottle.
Try one colour family for the flowers and the backdrop. Soft pastels and a pale blue sky match the look described on the style page. Change one thing at a time so you can see what each change does.
How the Celestial Fragrance Bloom Style Works
The style page describes a blend of professional studio lighting and the natural beauty of an open-air environment. It places the product on a reflective surface, with delicate floral arrangements around it. It also lists a clean blue-sky backdrop and pastel blossoms arranged to guide the eye toward the product's design and silhouette.
The page is written for perfume bottles, so start with a bottle photo. Using it takes three steps.
- Upload your photo. Drag and drop an image, or choose one from your device. You can also pick a style first to preview how your photo will transform.
- Choose the format. Pick a format before you generate.
- Generate and download. Your finished image is ready in seconds.
Compare the finished image with your real bottle. If a detail looks wrong, try another starting photo. Keep your own photos too, so you can compare the two.
Pick a Starting Photo
- Choose a sharp photo of the whole bottle on a plain background.
- Use soft light with no harsh bright spot on the glass.
- Keep the bottle straight and fully in the frame.
- Use a bottle with no lettering, and wipe the glass first.
If you have two or three photos from your perfume photo ideas, try each one and see which gives the clearest finished image. Keep the sharpest as your starting photo. Take a new photo if the glass shows a bright spot.
Try a backlit photo and a side-lit photo of the same bottle. Upload each in turn and compare the finished images. Keep the one that shows the shape of the bottle most clearly.
Common Mistakes to Avoid
- Harsh direct light. The lab says to diffuse direct reflection on glass.
- Lettering on the bottle. Use a plain bottle or turn the label away.
- Dusty glass. Wipe the bottle before each shot.
- Too many props. Keep the bottle the hero of the shot.
- Skipping the check. Compare the finished image with your real bottle.
Want more looks for your bottle photos? See the product styles page for more options. Try one new look at a time.
Conclusion
Good perfume photo ideas start with careful light on glass. Diffuse the reflection, try backlight, and keep the bottle the hero of the shot. Then open the Celestial Fragrance Bloom style, upload your photo and choose a format.
Voymage is also available as an app. Get Voymage on Google Play.
Frequently asked questions
What are good perfume photo ideas for beginners?
Try a bottle in front of a window with the light softened, a low angle, and a few small flowers around the base. Pick two or three ideas and keep the rest of the scene simple.
How do I reduce reflections on a glass bottle?
A university photography lab says you cannot always remove direct reflection from glass, so you diffuse it. It also says to light glass from behind.
Which angle suits a perfume bottle?
A university photography lab says a low angle will make glass appear larger and more heroic. Try eye level and a low angle first, then an overhead shot.
What does the Celestial Fragrance Bloom style do?
The page describes studio lighting blended with an open-air setting, with the product on a reflective surface among delicate floral arrangements.
Which starting photo should I upload?
Choose a sharp photo of the whole bottle on a plain background, in soft light, with the bottle straight and fully in the frame.
What if a detail looks wrong in my finished image?
Compare it with your real bottle. Then try another starting photo.